{開箱}過年前除夕敗家開箱

蓮蓬頭 | 閒聊八卦
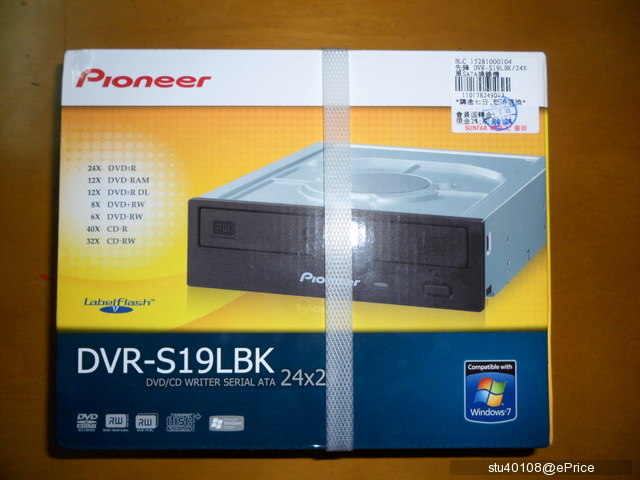
因為每次要燒DVD都要跑去我堂弟家 很麻煩 加上我光碟機也卡卡了(老了) 所以買了一台新的

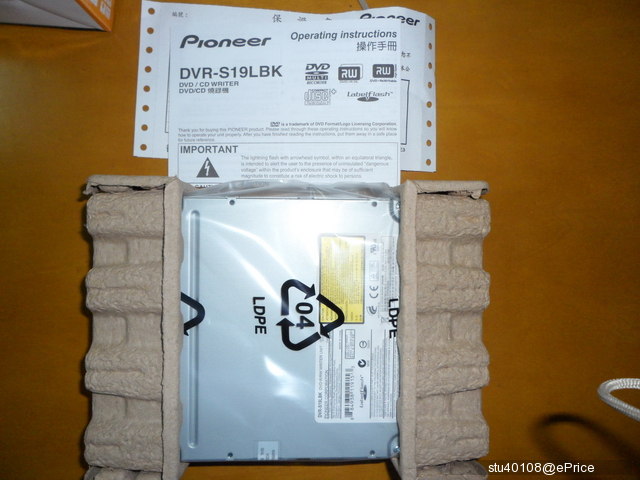
先鋒的0.0
//timgm.eprice.com.tw/tw/mobile/img/2011-02/02/4573725/stu40108_2_34_057fd7795285f04cd49ce258ce0e2517.JPG

裡面內容物
//timgm.eprice.com.tw/tw/mobile/img/2011-02/02/4573725/stu40108_2_34_69c8926afd9ae5ccdb614a6214173978.JPG

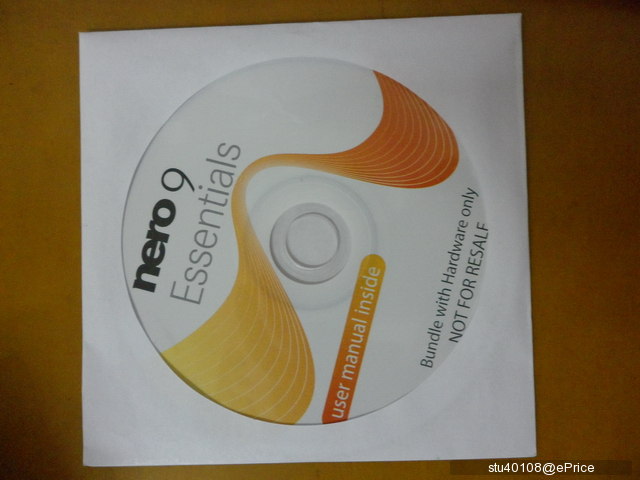
拆開才發現還有一片光碟(燒錄軟體)
//timgm.eprice.com.tw/tw/mobile/img/2011-02/02/4573725/stu40108_2_34_da3cc325af5250b831ba88efa000bb33.JPG

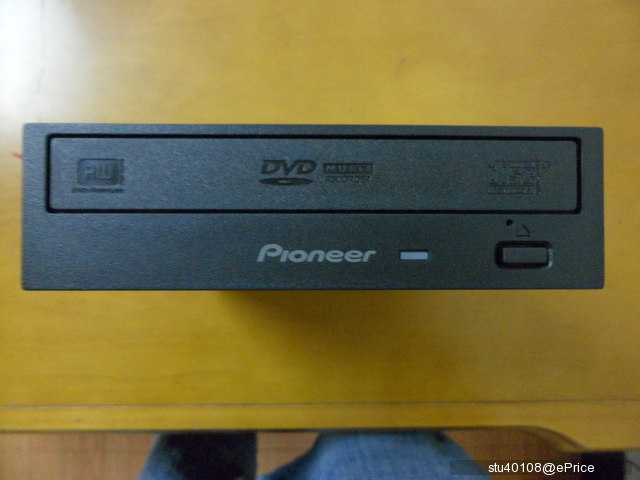
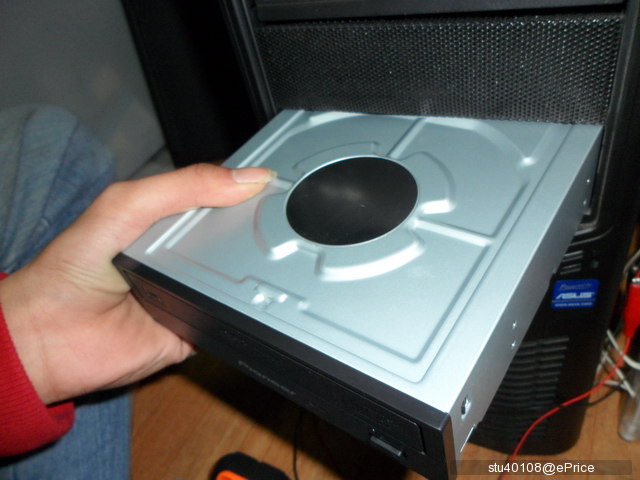
正面
//timgm.eprice.com.tw/tw/mobile/img/2011-02/02/4573725/stu40108_2_34_b1346ba6380206eb62d34ec18461087b.JPG

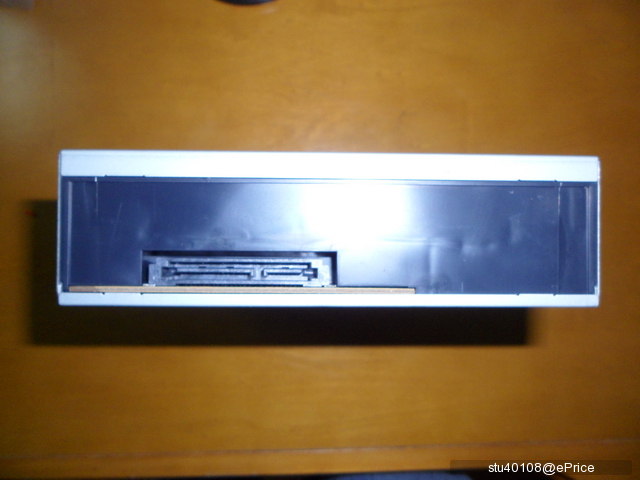
背面 很簡單 只有SATA介面 電源與訊號
//timgm.eprice.com.tw/tw/mobile/img/2011-02/02/4573725/stu40108_2_34_b676f51f84d11bfef2041019c2d7bfcd.JPG

要上機囉
網友:為啥還有線露出來= =
我:等等說 給你猜測一下icon
//timgm.eprice.com.tw/tw/mobile/img/2011-02/02/4573725/stu40108_2_34_a380ce71dcc47bbd3a293a100fee80c2.jpg

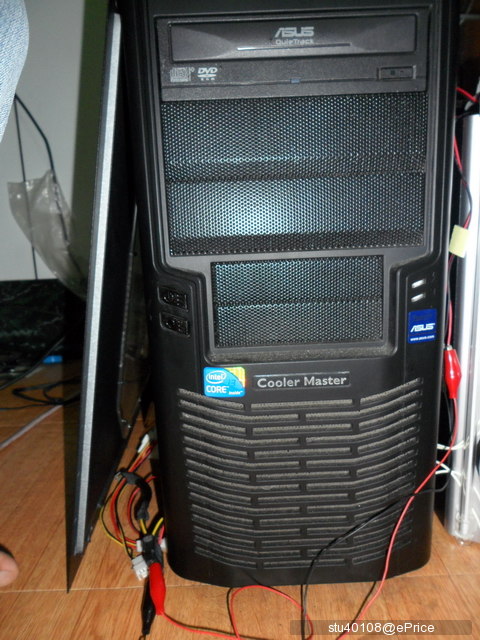
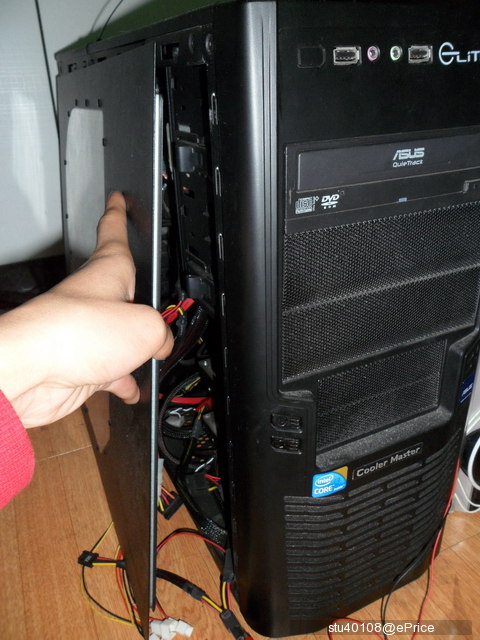
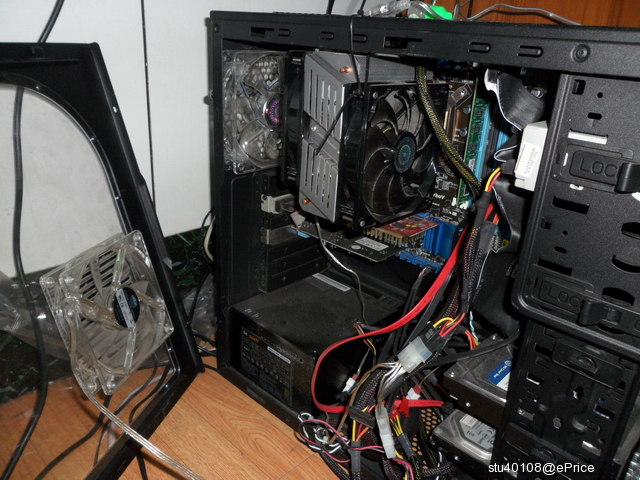
拆開主機殼測板(安裝前要記的先斷電喔)
//timgm.eprice.com.tw/tw/mobile/img/2011-02/02/4573725/stu40108_2_34_5b3bd9dbadafc604c66e5d584e682fb5.jpg
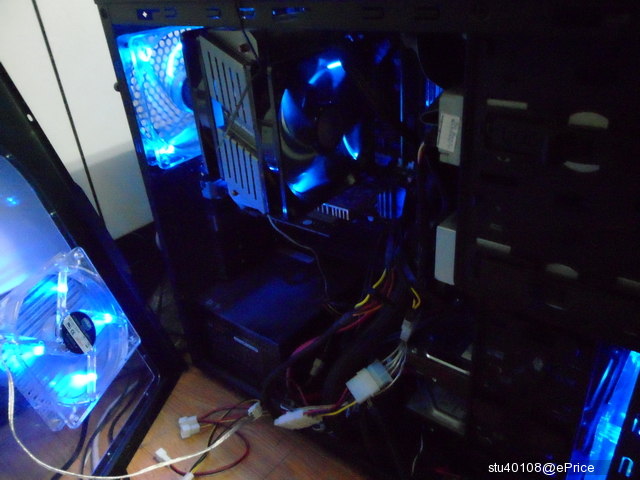
零亂的線= =
//timgm.eprice.com.tw/tw/mobile/img/2011-02/02/4573725/stu40108_2_34_45fc5cd76d93698328c5fbfcbebe1b01.JPG

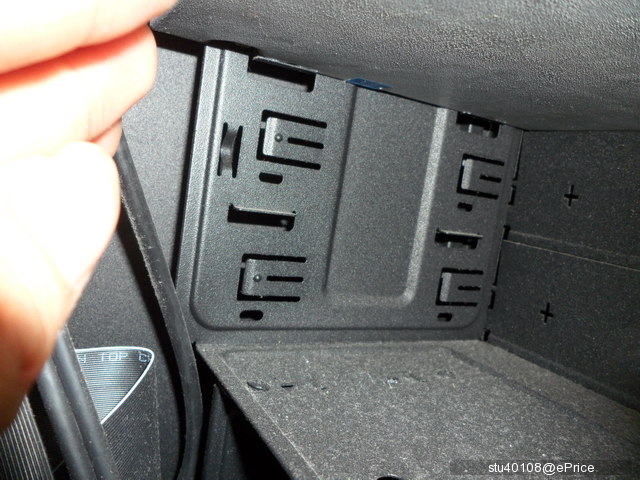
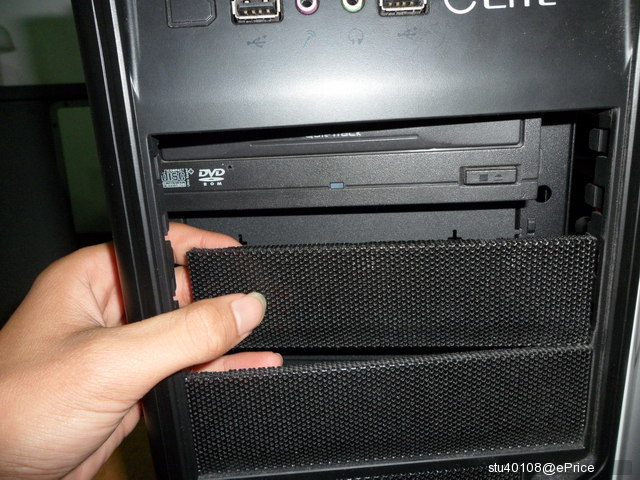
光碟機要放這 所以要先拆開檔板
//timgm.eprice.com.tw/tw/mobile/img/2011-02/02/4573725/stu40108_2_34_bb1a78ae113697061c6cd4671ba869b4.JPG
要先開拆前板0.0
//timgm.eprice.com.tw/tw/mobile/img/2011-02/02/4573725/stu40108_2_34_f788ee23eeb2d44b6573f670e3934f51.JPG

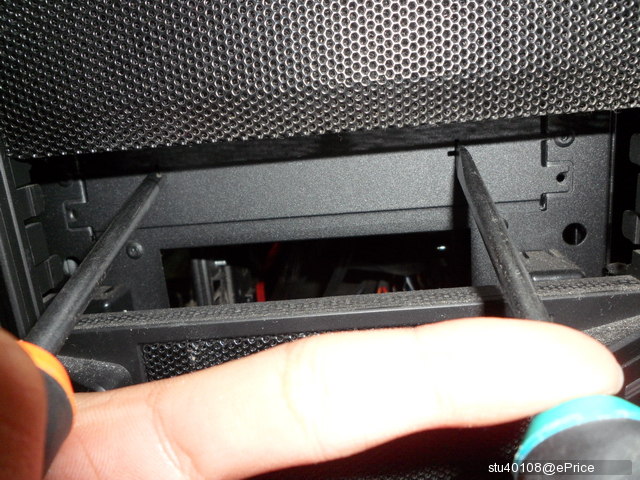
拆掉濾網
//timgm.eprice.com.tw/tw/mobile/img/2011-02/02/4573725/stu40108_2_34_19b12463ed2bbfdf997d37f7d047bd78.JPG

用螺絲起子把它拆掉
//timgm.eprice.com.tw/tw/mobile/img/2011-02/02/4573725/stu40108_2_34_a91bc768a6b874ea4934b6d96deb6339.JPG
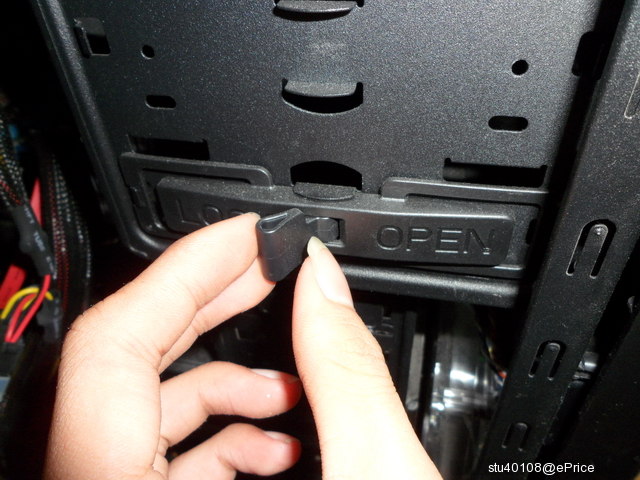
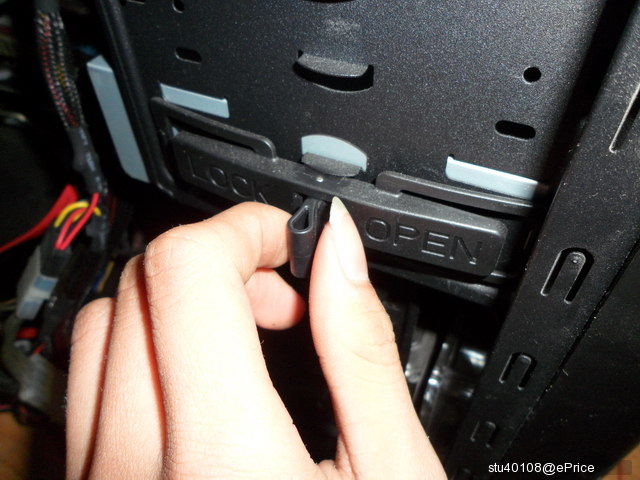
呵呵 我有快速安裝拆卸的扣具(要先轉到OPEN)
//timgm.eprice.com.tw/tw/mobile/img/2011-02/02/4573725/stu40108_2_34_8234854f579005a58a7298fc1f1bf836.JPG
開始安裝
//timgm.eprice.com.tw/tw/mobile/img/2011-02/02/4573725/stu40108_2_34_09c6081500d3bd3a10eb5e853294f2b8.JPG

要確認有沒有平行 不然會扣具會扣不到
//timgm.eprice.com.tw/tw/mobile/img/2011-02/02/4573725/stu40108_2_34_f463925e15c3ac69016e4ae290c89919.JPG

OK好以後就可以轉到扣起來囉(轉到LOCK)
//timgm.eprice.com.tw/tw/mobile/img/2011-02/02/4573725/stu40108_2_34_150dd363bead136f049148cc7929781c.JPG

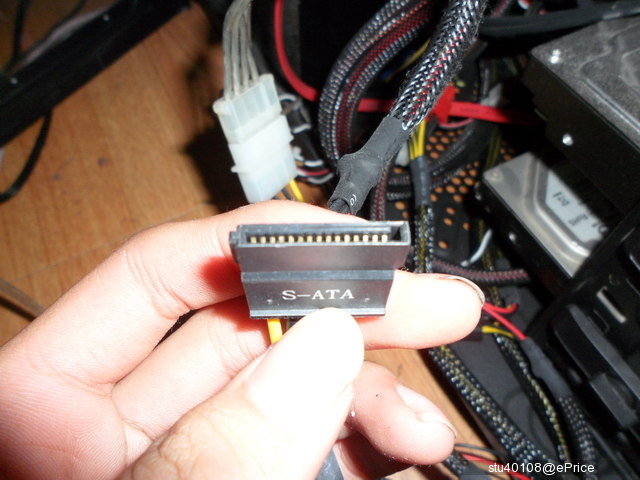
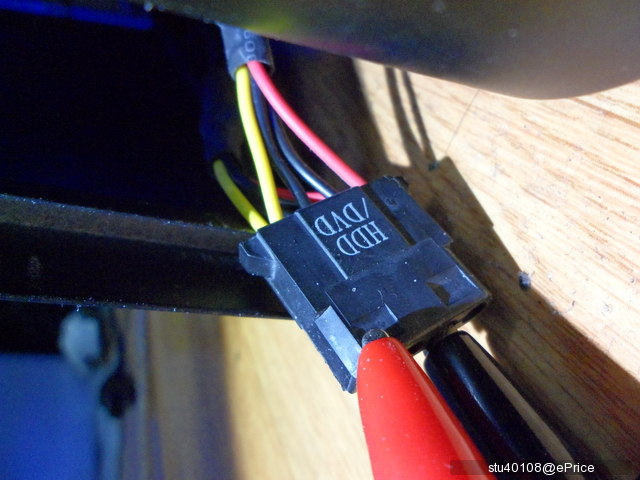
SATA的電源接頭(我的POWER本身就有這種接頭)
//timgm.eprice.com.tw/tw/mobile/img/2011-02/02/4573725/stu40108_2_34_cd4c02708b8a020784ec294e8154b255.JPG
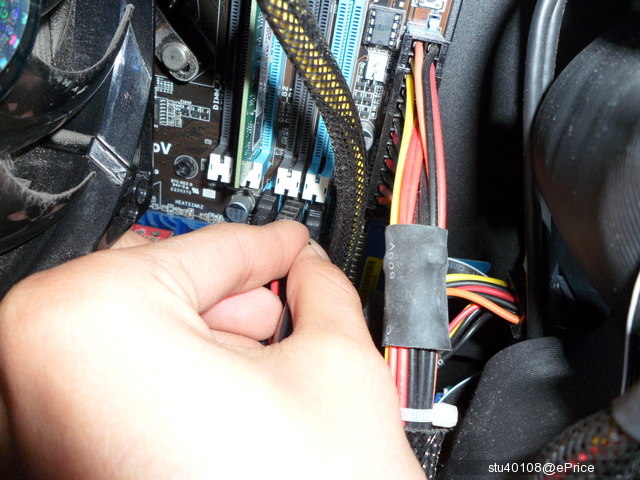
插好電源後換插SATA訊號線
//timgm.eprice.com.tw/tw/mobile/img/2011-02/02/4573725/stu40108_2_34_aa8a1e1275569de9ffb8fd3f7932b817.JPG
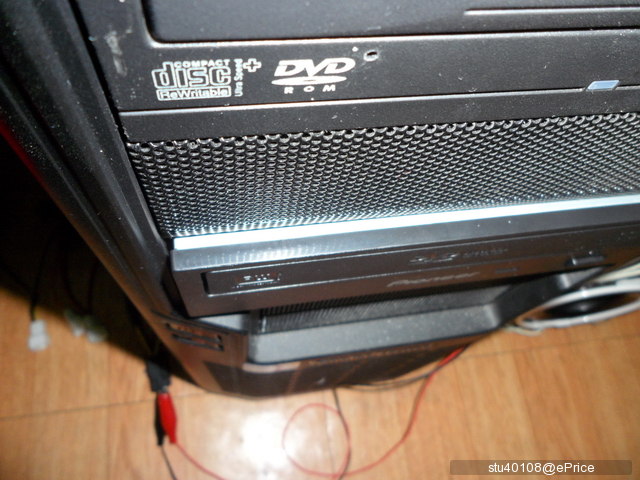
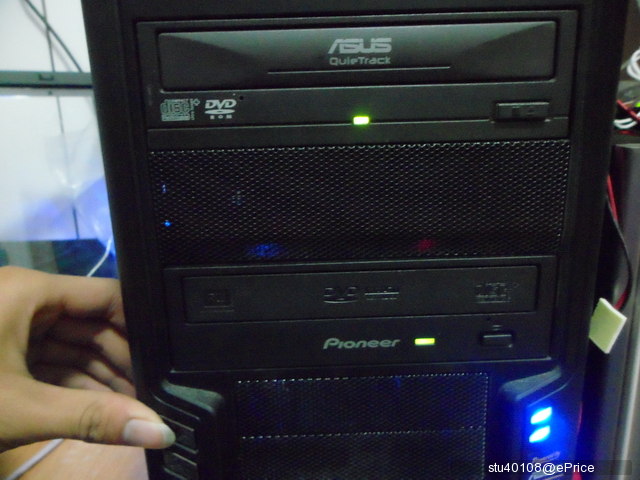
確認好以後 前板裝好 就可以開機囉
//timgm.eprice.com.tw/tw/mobile/img/2011-02/02/4573725/stu40108_2_34_eff83d39d162af833daebdc3f7a0c89f.JPG
都是藍色風扇icon
//timgm.eprice.com.tw/tw/mobile/img/2011-02/02/4573725/stu40108_2_34_d74b1b8d2590f4c34651358fdec43534.JPG
怎麼寫到這裡感覺像是在做教學文阿iconicon
網友:那兩條線到底是啥啦
我:不知道耶
網友:算了 關掉視窗
我:不要啦 我說就是了(爛梗)

------我------是------分------隔------線------
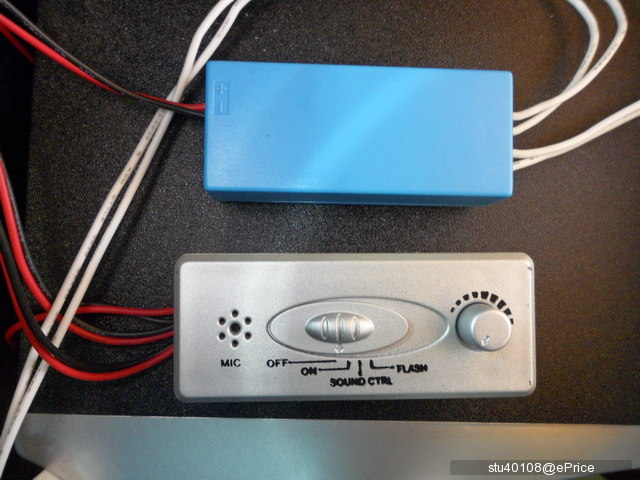
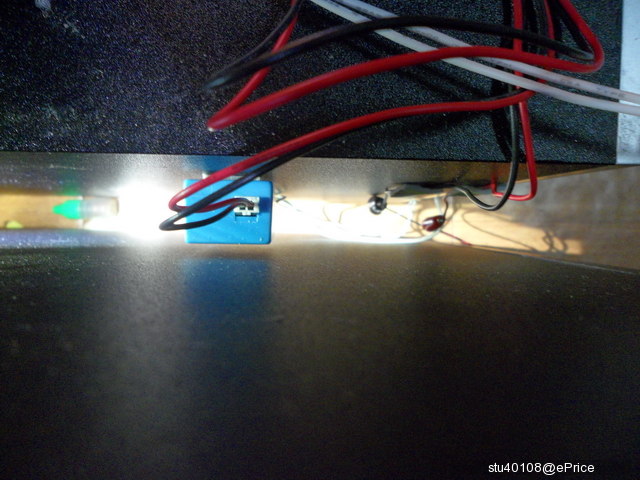
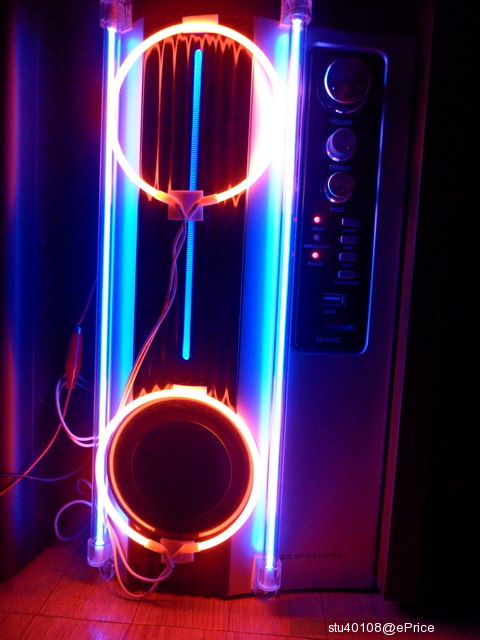
其實也沒什麼啦 只是電腦音響裝了"聲控"冷陰極管而已
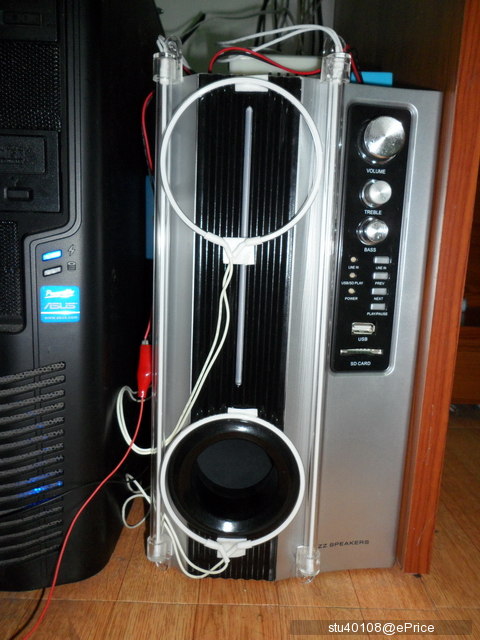
//timgm.eprice.com.tw/tw/mobile/img/2011-02/02/4573725/stu40108_2_34_3e7e4230bec2d531eacf247b096fa461.jpg
聲控器+冷陰極管驅動器
//timgm.eprice.com.tw/tw/mobile/img/2011-02/02/4573725/stu40108_2_34_c1076d03565a7b9ef79f687745c65210.JPG

另一顆黏在旁邊
//timgm.eprice.com.tw/tw/mobile/img/2011-02/02/4573725/stu40108_2_34_16b64b400fdd5648b32e7b226846c923.JPG

電源由電腦提供+12V
//timgm.eprice.com.tw/tw/mobile/img/2011-02/02/4573725/stu40108_2_34_f67d23e90be04c782ccd43f3b6f00cd5.JPG

開燈囉XD
//timgm.eprice.com.tw/tw/mobile/img/2011-02/02/4573725/stu40108_2_34_84da91945f354ea3c815a91773425d40.jpg
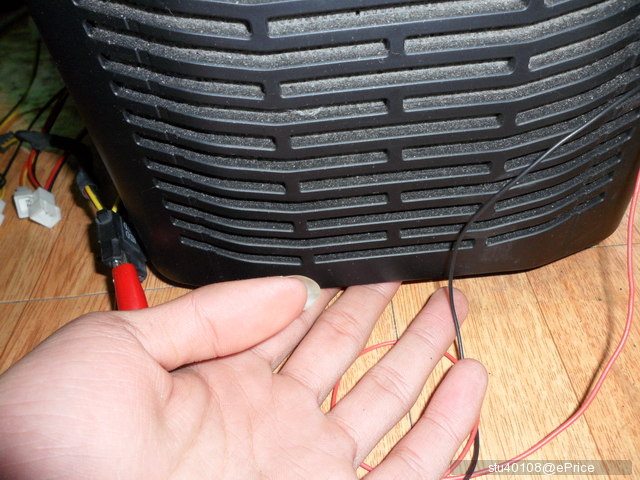
其實本來紅色光圈要固定在中高音喇叭 可是 那線......真的是有夠短根本拉不到上面 所以也只好固定在重低音

嘿嘿 這是影片 為了做效果 所以用台了一點音樂 若不喜 請見諒


開箱就到這裡囉 祝大家新年快樂