[EP開箱] Popsocket 泡泡騷氣囊手機支架
當初買手機時,因為我不喜歡皮套,所以只裝了一個手機殼的關係。但是當看影片時,還要想辦法找支撐的東西。曾經用過各式各樣的支架,但指環支架容易鬆脫,而另一種的磁鐵支架沒有辦法平衡(立起來之後容易倒下去),所以最後還是選擇給氣囊支架一個機會 不過我個人不太想相信網拍上賣幾十元的品質,又剛好有看到EP福利社剛好有這樣的東西能兌換,就換了一個試試看
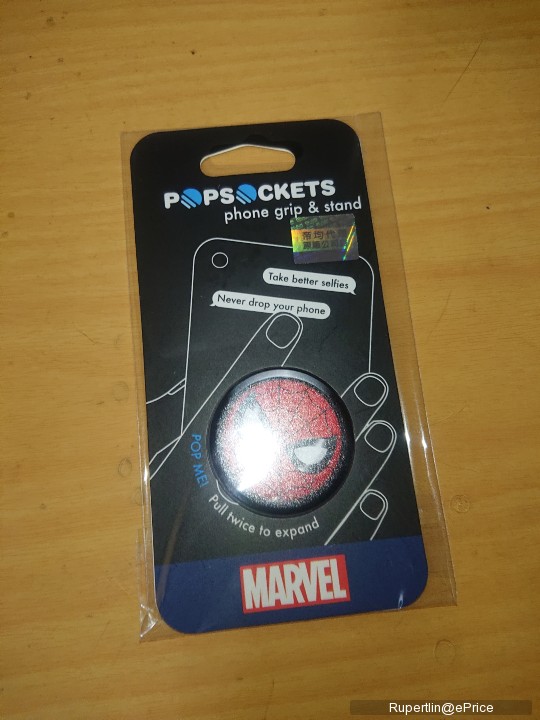
我換的是漫威官方授權的蜘蛛人款式 有著精美的包裝...上面寫著拍出更好的自拍和絕不會掉下你的手機兩個主要功能,後者對我來說比較有吸引力
 (我已經手殘摔過好幾次手機了)
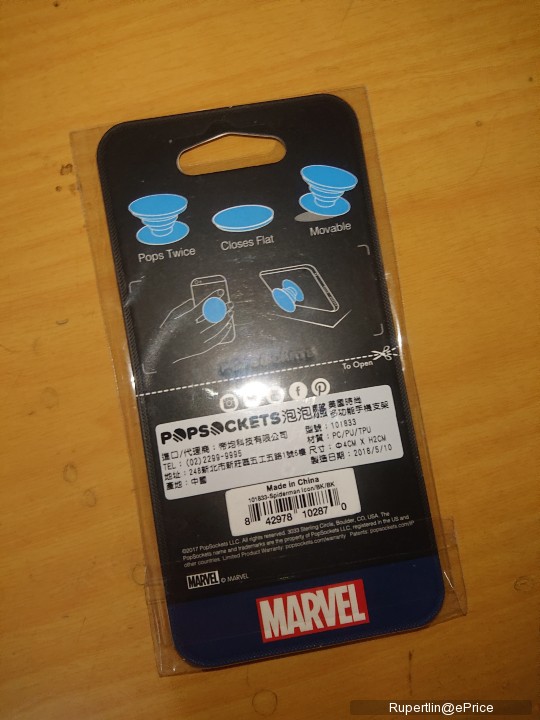
接著背面有更多的說明和中文標籤,基本上就算你看不懂英文也可以看圖說故事的那種感覺
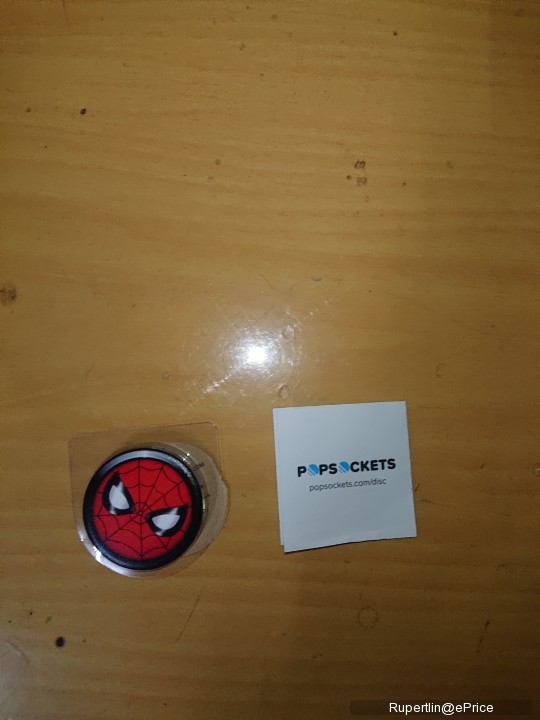
打開之後有本體和說明書(剛才那個紙板因為弄得太破就不入鏡了 )
)
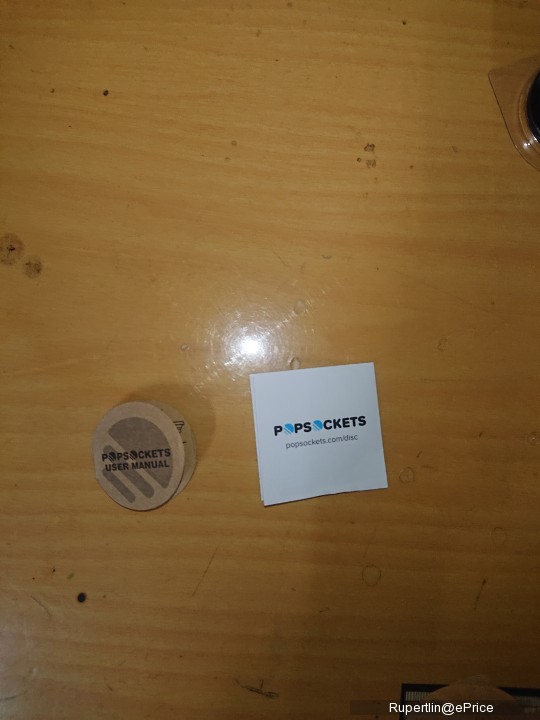
翻到背面來看看,咦竟然還有第二份的說明書
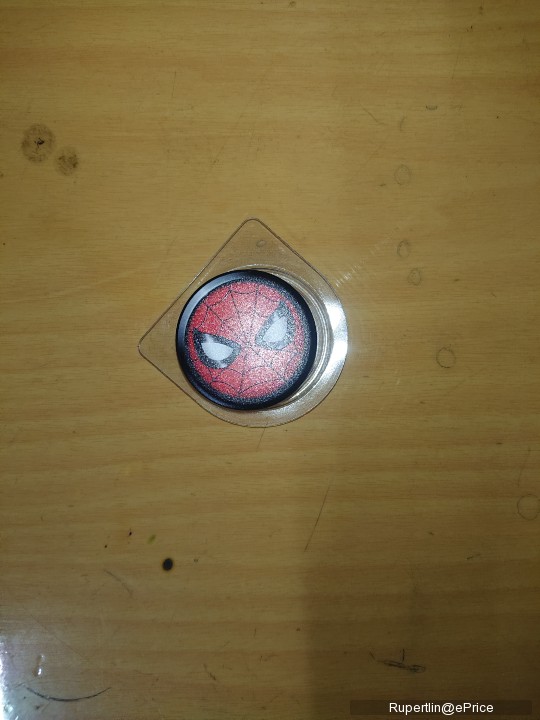
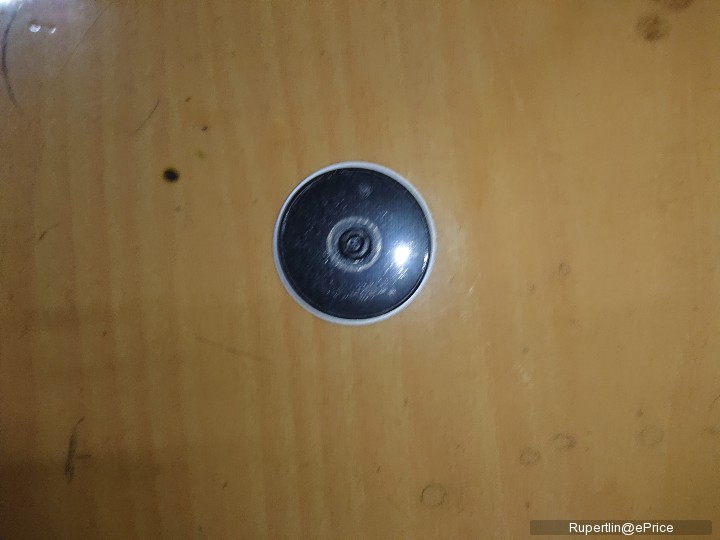
把本體下面的塑膠片移除掉之後..
好吧本來還有更多裝上去後照片的,但是不知道拍一拍跑到哪裡去了...
這篇文章大概就到這邊。不過無論如何,希望大家能喜歡我拍攝的照片與影片並包容我不成材的攝影技巧!
(文章內的相片或影片全數由Xperia XZ2拍攝)
 不過我個人不太想相信網拍上賣幾十元的品質,又剛好有看到EP福利社剛好有這樣的東西能兌換,就換了一個試試看

我換的是漫威官方授權的蜘蛛人款式
 有著精美的包裝...上面寫著拍出更好的自拍和絕不會掉下你的手機兩個主要功能,後者對我來說比較有吸引力
 (我已經手殘摔過好幾次手機了)
接著背面有更多的說明和中文標籤,基本上就算你看不懂英文也可以看圖說故事的那種感覺


打開之後有本體和說明書(剛才那個紙板因為弄得太破就不入鏡了
 )
)
翻到背面來看看,咦竟然還有第二份的說明書


把本體下面的塑膠片移除掉之後..
好吧本來還有更多裝上去後照片的,但是不知道拍一拍跑到哪裡去了...

這篇文章大概就到這邊。不過無論如何,希望大家能喜歡我拍攝的照片與影片並包容我不成材的攝影技巧!
(文章內的相片或影片全數由Xperia XZ2拍攝)
廣告

網友評論 0 回覆本文